Step-1
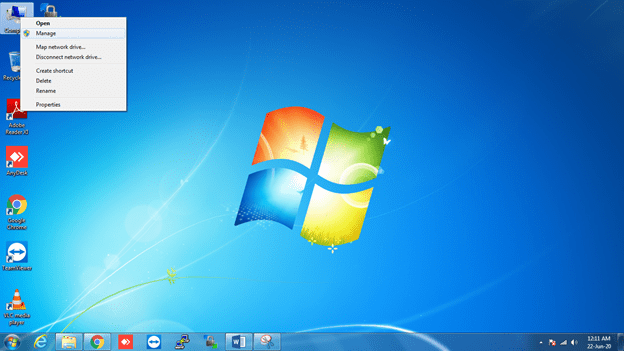
Right click on the My computer (windows7)/This PC (Windows 8 or 10) and select manage.
Step-2
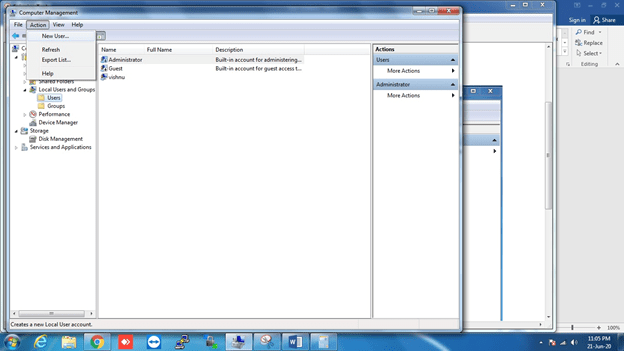
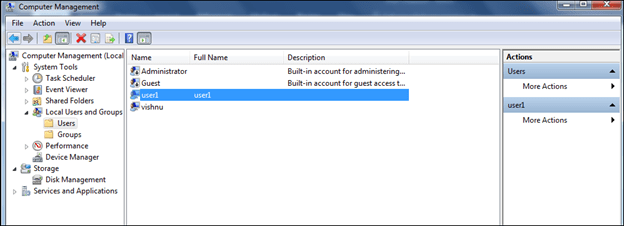
Select the users option from the local users and groups menu.

Step-3
Click on action and select the option new user.
Step-4
Put the new user name and password like below image and click on create.
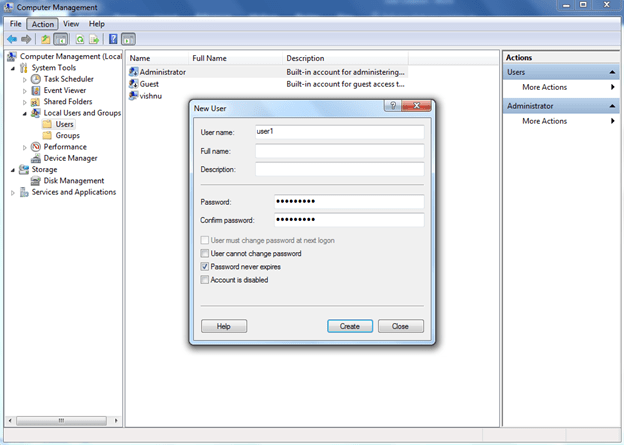
- The new user name will be visible on the users list after the creation.
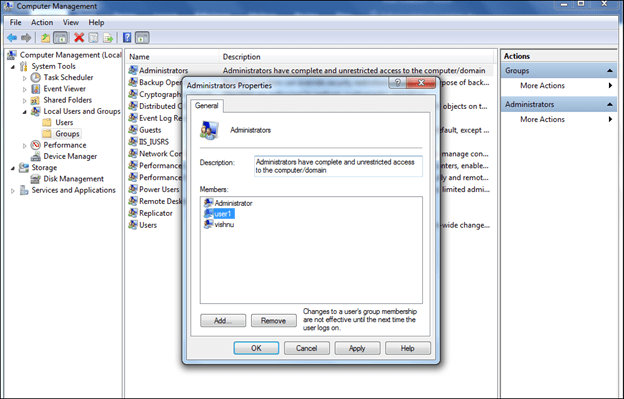
Step-5
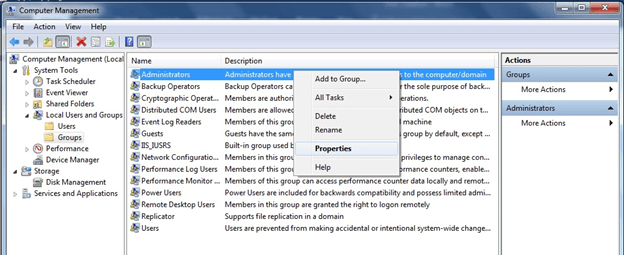
The new user name has to add to the administrative group for the administrative privilege.
- Select the groups option from the left side.
- Click on administrators and select properties.
- Type the name of the user which we have created
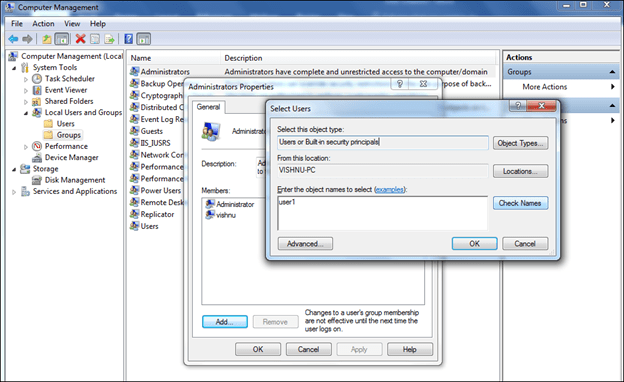
- Click on ‘check names’. User name will be visible like below picture. Then click ‘Ok’.
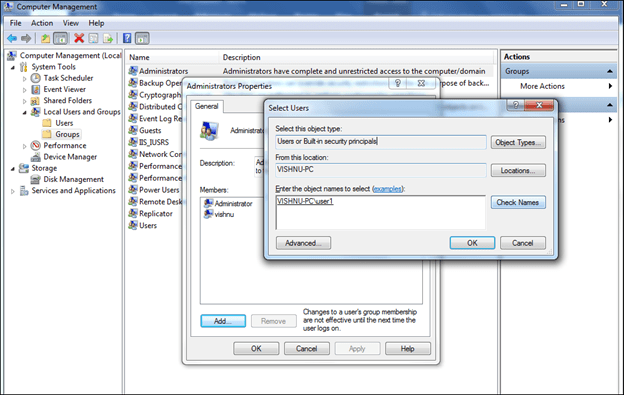
- After we can see the user name in the list of administrative users.
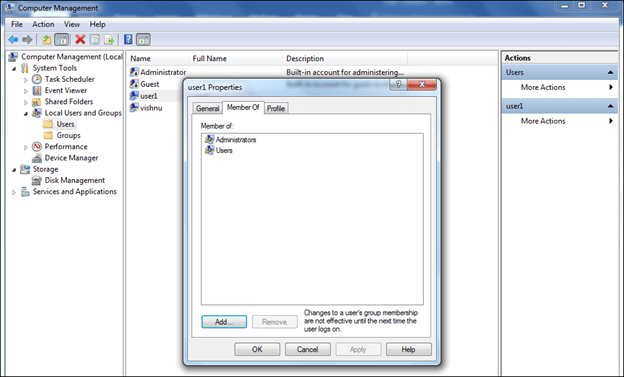
- If you want to check the user has administrative privilege.
- Just select the user name and right click then select properties.
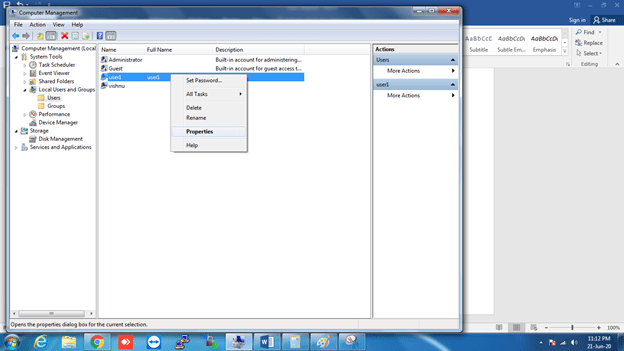
- Select the ‘member of’ option.
- If the user is a member of administrator then we can see the administrators name in the list.