
Concourse CI/CD is an open source platform which runs on two main Docker containers. Once Concourse is installed, all you have to do is to use the docker-compose up command to bring up the Concourse server. Concourse uses Postgres as its database.
Let’s Install Concourse CI
Let’s install the CI first and then then we can talk about the components.
Concourse is distributed as a single concourse binary, making it easy to run just about anywhere, especially with Docker.
$ curl -O https://concourse-ci.org/docker-compose.yml
$ docker-compose up -d
Creating docs_concourse-db_1 ...
Creating docs_concourse-db_1 ... done
Creating docs_concourse_1 ...
Creating docs_concourse_1 ... done
Concourse will be running at localhost:8080 on your machine. You can log in with the username/password as test/test.
Install Fly
Next, install the fly CLI by downloading it from the web UI and login to your local Concourse as the testuser:
# MacOS
$ curl 'http://localhost:8080/api/v1/cli?arch=amd64&platform=darwin' -o fly \
    && chmod +x ./fly && mv ./fly /usr/local/bin/
# Linux
$ curl 'http://localhost:8080/api/v1/cli?arch=amd64&platform=linux' -o fly \
    && chmod +x ./fly && mv ./fly /usr/local/bin/

$ fly -t tutorial login -c http://localhost:8080 -u test -p test
logging in to team 'main'

target saved
You’ll notice that every fly command in this tutorial has to have the target (-t tutorial) specified. This is annoying when you only have one Concourse to target, but it helps ensure you don’t trigger a job on the wrong Concourse instance. It will save you from hurting yourself!
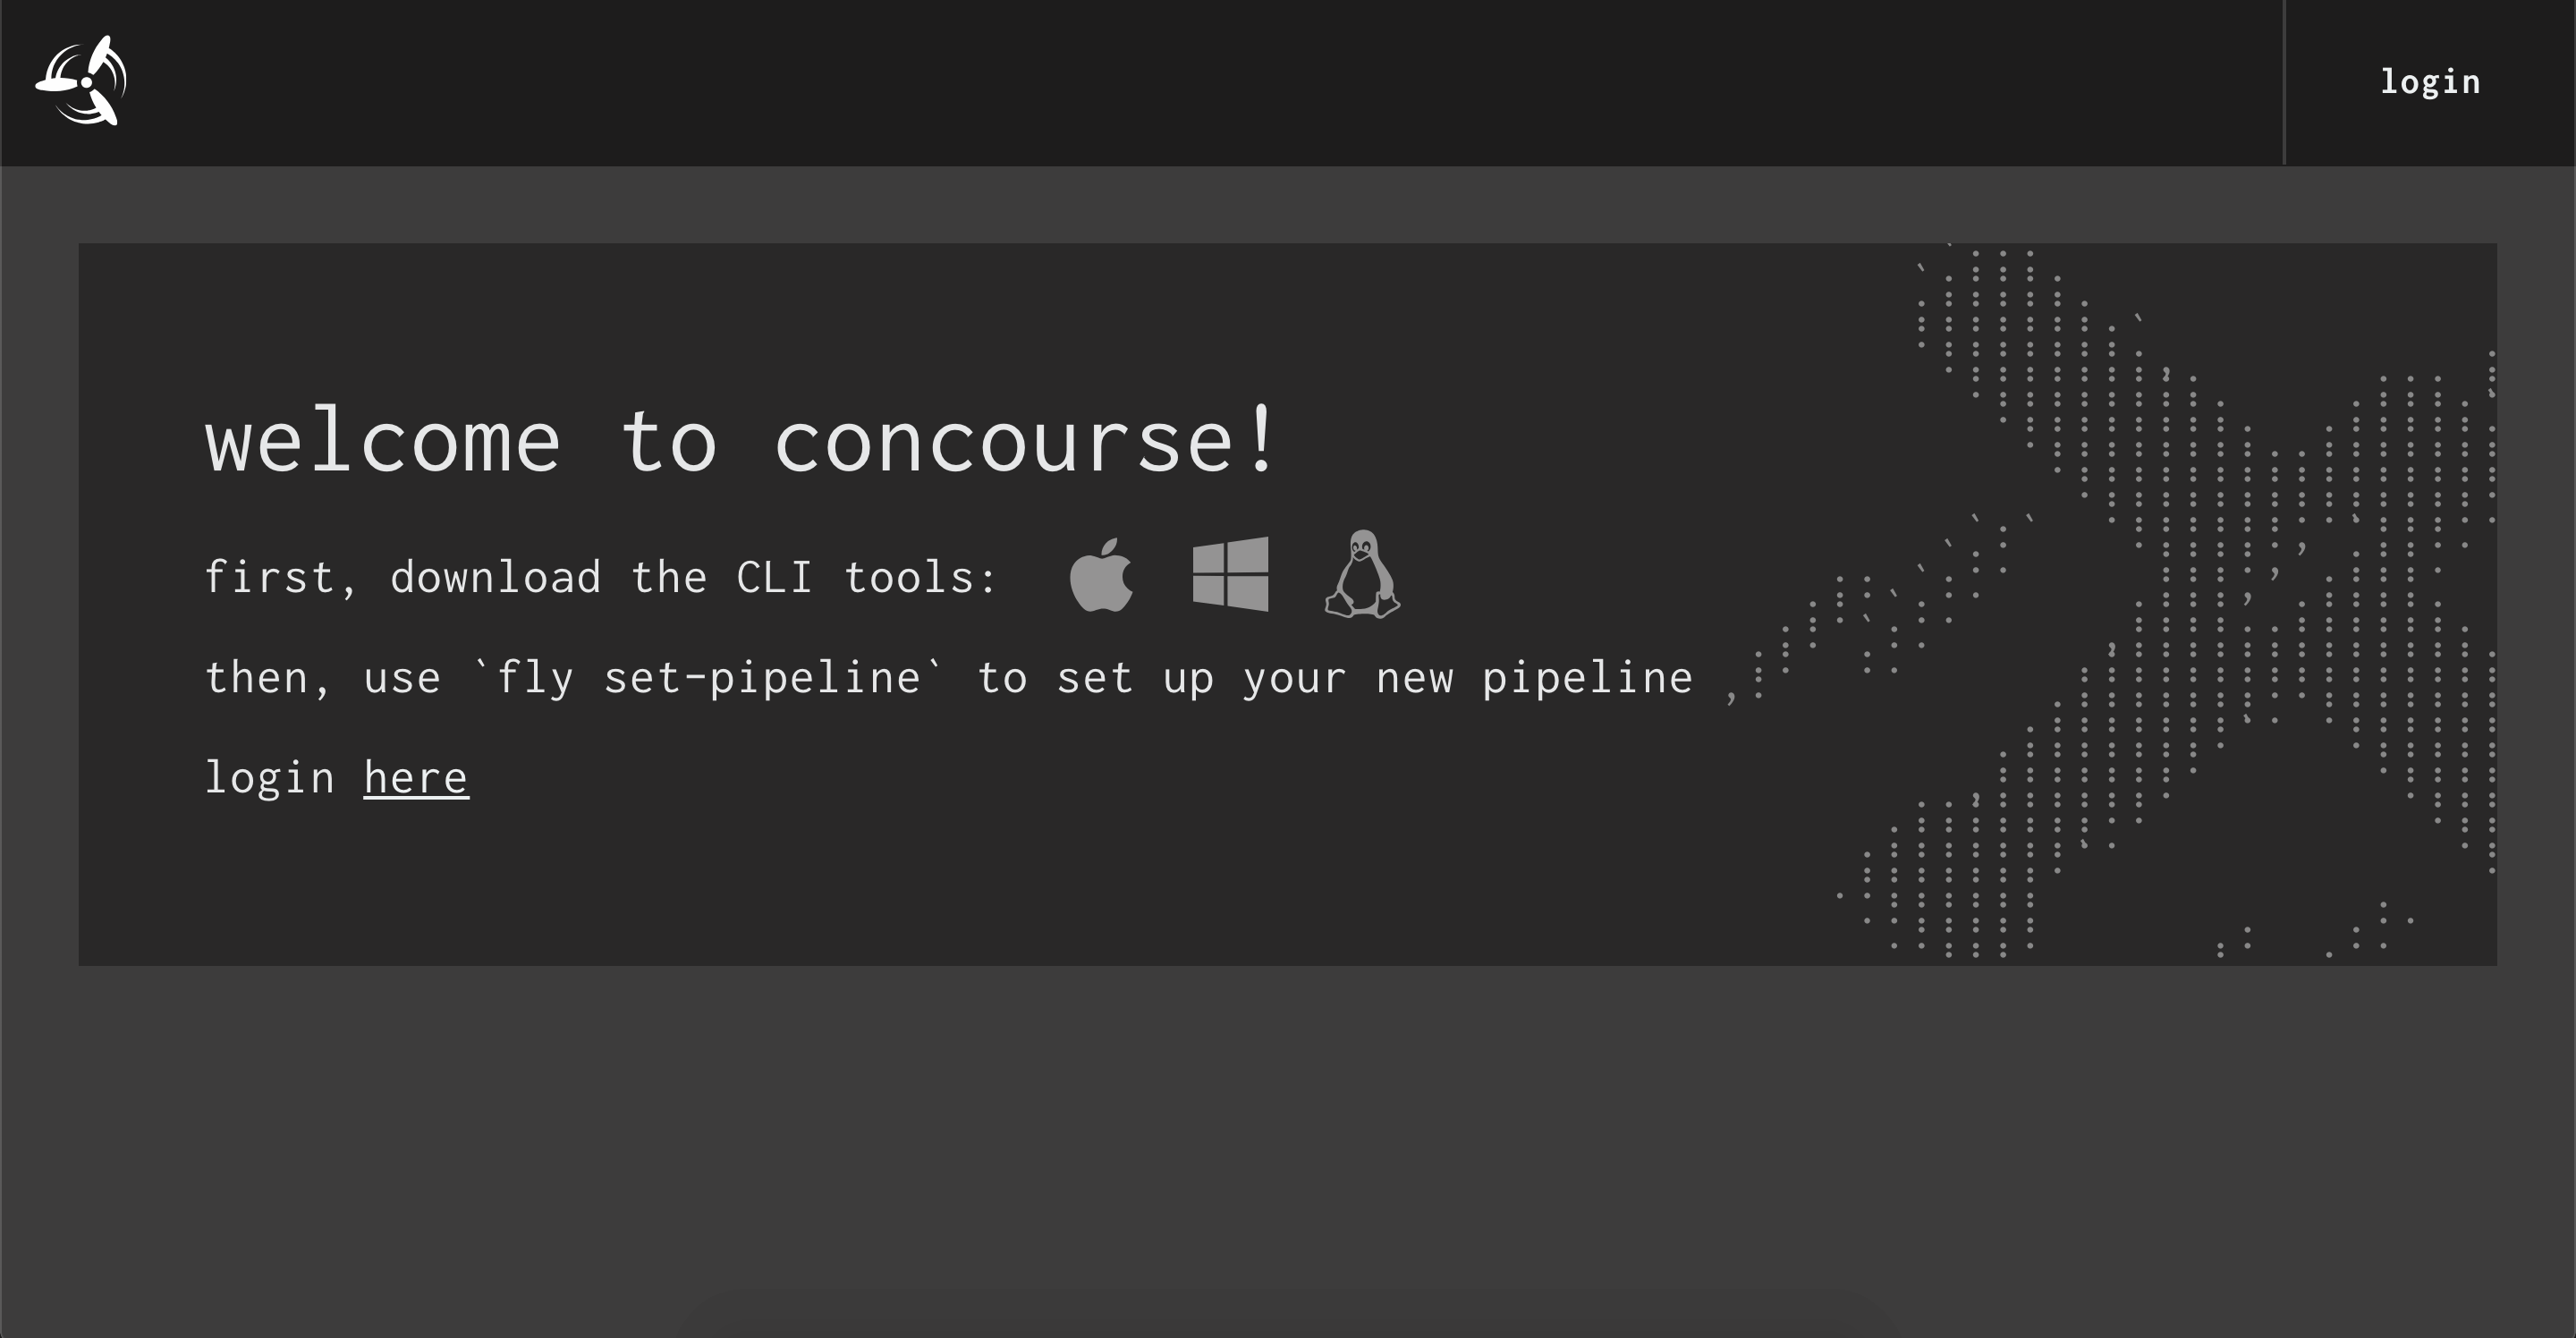
Once you’ve confirmed everything is up and running by logging in through fly and the web UI, you can move onto the next section. If you refresh this page you should see the web UI in the frame below.
What is Fly ?
fly CLI is a command line tool that you need to use to set up a pipeline on Concourse. fly can be downloaded once the Concourse server instance is running and when you are logged in for the first time. The initial user ID and password by default are “test” and “test,” but you can change them later.
fly CLI will be used to set up, un-pause, pause, and destroy pipelines.
The Concourse pipeline set up needs a set of files that are associated with each repository. Each repo represents a microservice. It is best practice to associate one set of files related to Concourse to one repo.
Learn by Examples
Configuring self-contained Concourse pipelines is a great way to try things out before diving into the deeper content.
Each example contains a pipeline YAML snippet which can be copy-pasted to a local file and configured on your instance via fly set-pipeline. From there you may want to poke around and try changing parts of the configuration to learn how things work. All the available knobs to turn are covered in the Docs.
Hello World pipeline
Let’s start where all tutorials start, with a Hello World! example!
In this section you’re going to create a pipeline that simply prints Hello world! to the console. While building up the pipeline we will pause to explain the core pieces of the pipeline.
Let’s first answer: what is a pipeline made up from?
The simplest Concourse pipeline is made of two objects:
If you’ve used other pipeline building tools in the past, then what you think of as a pipeline is probably most similar to a job in Concourse.
For our Hello World! pipeline we will need one job with one step. This is the smallest pipeline you can make in Concourse. The single step is what will print Hello World! to the console.
Create and open a new file called hello-world.yml. Inside that file let’s add the first top-level key, jobs.
jobs:The jobs key is where we define the list of jobs that should make up our pipeline. The order of the jobs does not matter. The order of jobs does not define the structure of the pipeline. We’ll get into pipeline structure and job ordering later when we talk about Resources and passed constraints.
Add a job
We only need one job right now so let’s add a single job named hello-world-job.
jobs:
- name: hello-world-job
Awesome, we have a job named hello-world! Now we need to add a step to our job. To define a list of steps a job should execute, we need to add the plan key to our job.
jobs:
- name: hello-world-job
  plan:
Add a step
Unlike jobs, the order of steps does matter! Concourse will run the steps in the order that they are listed. Let’s carefully place a task step as the first (and only) step in our job.
jobs:
- name: hello-world-job
  plan:
  - task: hello-world-task
Fantastic! Now we need to tell Concourse how to run our task step. We do that by providing a task config.
jobs:
- name: hello-world-job
  plan:
  - task: hello-world-task
    config:
At this point we are going to pause to explain steps a bit more.
What is a step?
A step is a single container running on a Concourse worker. Each step in a job plan runs in its own container. You can run anything you want inside the container (i.e. run my tests, run this bash script, build this image, etc.).
So if you have a job with five steps Concourse will create five containers, one for each step. Therefore, we need to tell Concourse the following about each step:
- What type of worker to run the task on (linux/windows/darwin)
- What container image to use (Linux only)
- What command to run inside the container
Concourse currently only supports Linux containers. Concourse does not yet run Windows containers. Darwin does not have native containers.
Fill in the Task Config
Let’s answer the previous three questions for our hello-world-task:
- What type of worker to run the task on (linux/windows/darwin)Linux, because our docker-composed Concourse only has one linux worker. You can verify this by running
fly -t tutorial workers - What container image to use (Linux only)We’ll use the super small busybox image
- What command to run inside the container
echo "Hello world!"
You can view the task documentation to see all configurable options for tasks. For now, you can add the following task config to the step.
jobs:
- name: hello-world-job
  plan:
  - task: hello-world-task
    config:
      # Tells Concourse which type of worker this task should run on
      platform: linux
      # This is one way of telling Concourse which container image to use for a
      # task. We'll explain this more when talking about resources
      image_resource:
        type: registry-image
        source:
          repository: busybox # images are pulled from docker hub by default
      # The command Concourse will run inside the container
      # echo "Hello world!"
      run:
        path: echo
        args: ["Hello world!"]
Run the pipeline
That’s the whole pipeline! You can now set it, unpause, and trigger it using the fly cli. You can then view it from the web ui.
$ fly -t tutorial set-pipeline -p hello-world -c hello-world.yml
# pipelines are paused when first created
$ fly -t tutorial unpause-pipeline -p hello-world
# trigger the job and watch it run to completion
$ fly -t tutorial trigger-job --job hello-world/hello-world-job --watch
You’ll see extra output than what we’re showing below (the busybox image being downloaded) but the last four lines will be the task executing.
selected worker: 701785fa43a1
running echo Hello world!
Hello world!
succeeded
The following is an iframe to http://localhost:8080/teams/main/pipelines/hello-world
